
Cyber@ANZ - Digital Forensics
Task Description
Suspicious network activity has been detected coming from a user on the ANZ network.
A laptop has been flagged up on our security systems due to suspicious internet traffic, and we need you to investigate the network traffic in order to establish what the user accessed and downloaded.
Your task is to examine their network activity and gather what information you can on what images they viewed and what files they accessed.
You have been provided with a packet capture file (pcap) containing all their recent network activity. There may be a number of artifacts contained within the packet capture file, and you will be expected to identify and report as many as possible.
You must provide a report on everything you found, and document what processes / steps you followed to achieve this.
Download Packet: here.
Solutions
Packet Analyses
I utilized the network analysis tool called Wireshark to read the provided packet capture file.
Analysing the traffic, I discovered that most communications occurred via HTTP service, so I decided to filter the HTTP traffic using the http.request query.
As I further investigated the communications, I found out some interesting “GET” requests demonstrated by the following image.

I then took the next step by downloading those images.
Wireshark provides a capability to extract the objects in the HTTP traffic.
- From Wireshark, I navigated to File -> Export Objects -> HTTP.
- There is a new Windows popped up -> Click Save All -> Pick a desired folder-> Choose.

Here are the md5 hashes of those images after they were downloaded:

Analysing those images, I was able to spot a few dubious points.
Sub-task 1
anz-logo.jpgandbank-card.jpgare two images that show up in the users network traffic. Opened those images with an Image Viewer application, I obtained the following results.anz-logo.jpg

bank-card.jpg

Sub-task 2
- The network traffic for the images
ANZ1.jpgandANZ2.jpgis more than it appears. - Employing a tool called
stringsagainst theANZ1.jpg, I discovered a hidden message.

I achieved the same result by inspecting the tcp stream 14”.
The Wireshark filter query is: tcp.stream eq 14 -> Follow TCP Stream. At the end of the stream, the hidden message showed up.

Open the image with HxD application, I could also retain the same output.

I followed the same techniques with the ANZ2.jpg image and managed to allocate the hidden messages shown as below.

Sub-task 3
- The
how-to-commit-crimes.docxfile type isASCII. I could confirm that with thefilecommand.

Here is how the content looks like on the wire.

Sub-task 4
- The user accessed three pdf documents:
ANZ_Document.pdf,ANZ_Document2.pdfandevil.pdf. Inspecting those.pdfrespectively … ANZ_Document.pdf

ANZ_Document2.pdf

- The
evil.pdffile is suspicious with the following contents.

Sub-task 5
- The
hiddenmessage2.txtfile is actually a JPG image. This could be confirmed with theJFIFfile signature.

By changing the file extension to hiddenmessage2.jpg. Here is how it looks like.

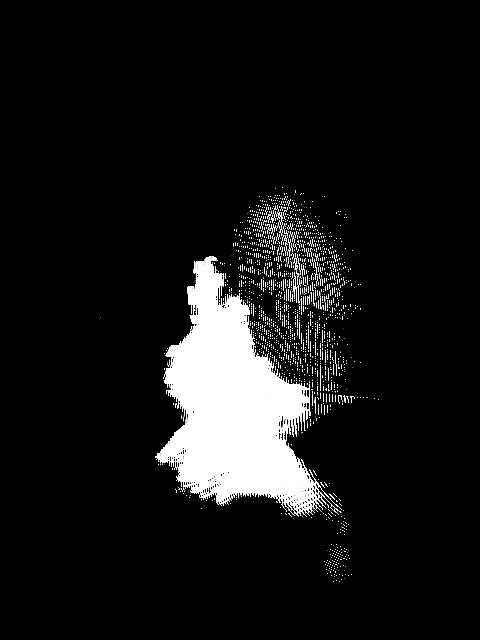
Sub-task 6
- A hidden image is embedded in the
atm-image.jpg. I could confirm that by inspecting the file stream withWireshark.

- Scrolling down a little bit, I found the second
JFIFfile signature.

- Extracting the second image with
foremost.

- Here is how it looks like.

Sub-task 7
- The
broken.pngfile content isbase64-encoded. I decoded the content, and took a look at the file header, it appears to be aPNGimage.

- I simply redirected the decoded content of
broken.pngtobroken_recover.png. - Here is how the
broken_recover.pngimage looks like when its recovered.

Sub-task 8
- The
securepdf.pdfis a actually a.zipfile. Once again, I could state that by checking the file type withfile.

- Extract the zip, I was prompted to enter a password.

- Crack the zip with
fcrackzip, the yielded password issecure.

- Extract the
zipwith the password ofsecure, I managed to recover therawpdf.pdf.

- Here is how the file looks like when its recovered.
